Character Presets
Having A Hard Time Being Consistent With Your Editing?
You need the Character Presets! They offer a wide variety of looks for ALL camera bodies! They have been tested on Nikon, Nikon Mirrorless, Canon, Canon Mirrorless & Sony!
Presets are used to compliment a properly exposed image. These Presets have been carefully designed to help achieve those desired creamy tones in the skin.
They have been carefully tested on All Camera Bodies including Mirrorless!
Once applying the preset, you may need to adjust the exposure and white balance. Using the TINT slider to I’ll also help you achieve proper white balance.
Try applying the same preset to all of the images with the same “set up” or backdrop. This will aid in making your images look consistent.
There are 23 Presets for Coloured images, and 1 BW preset.
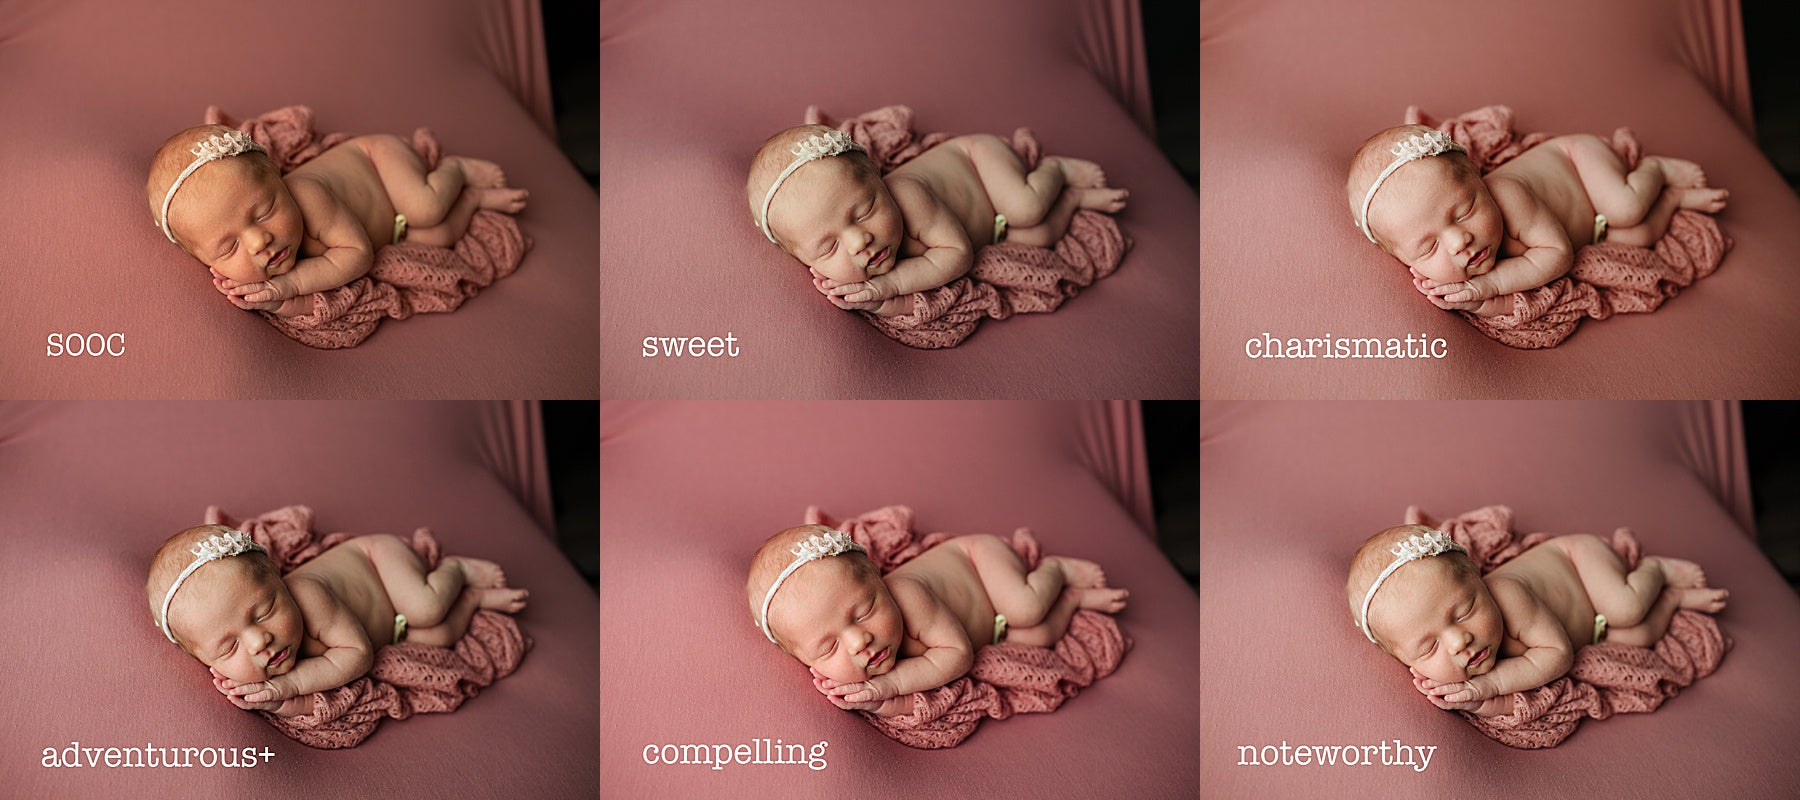
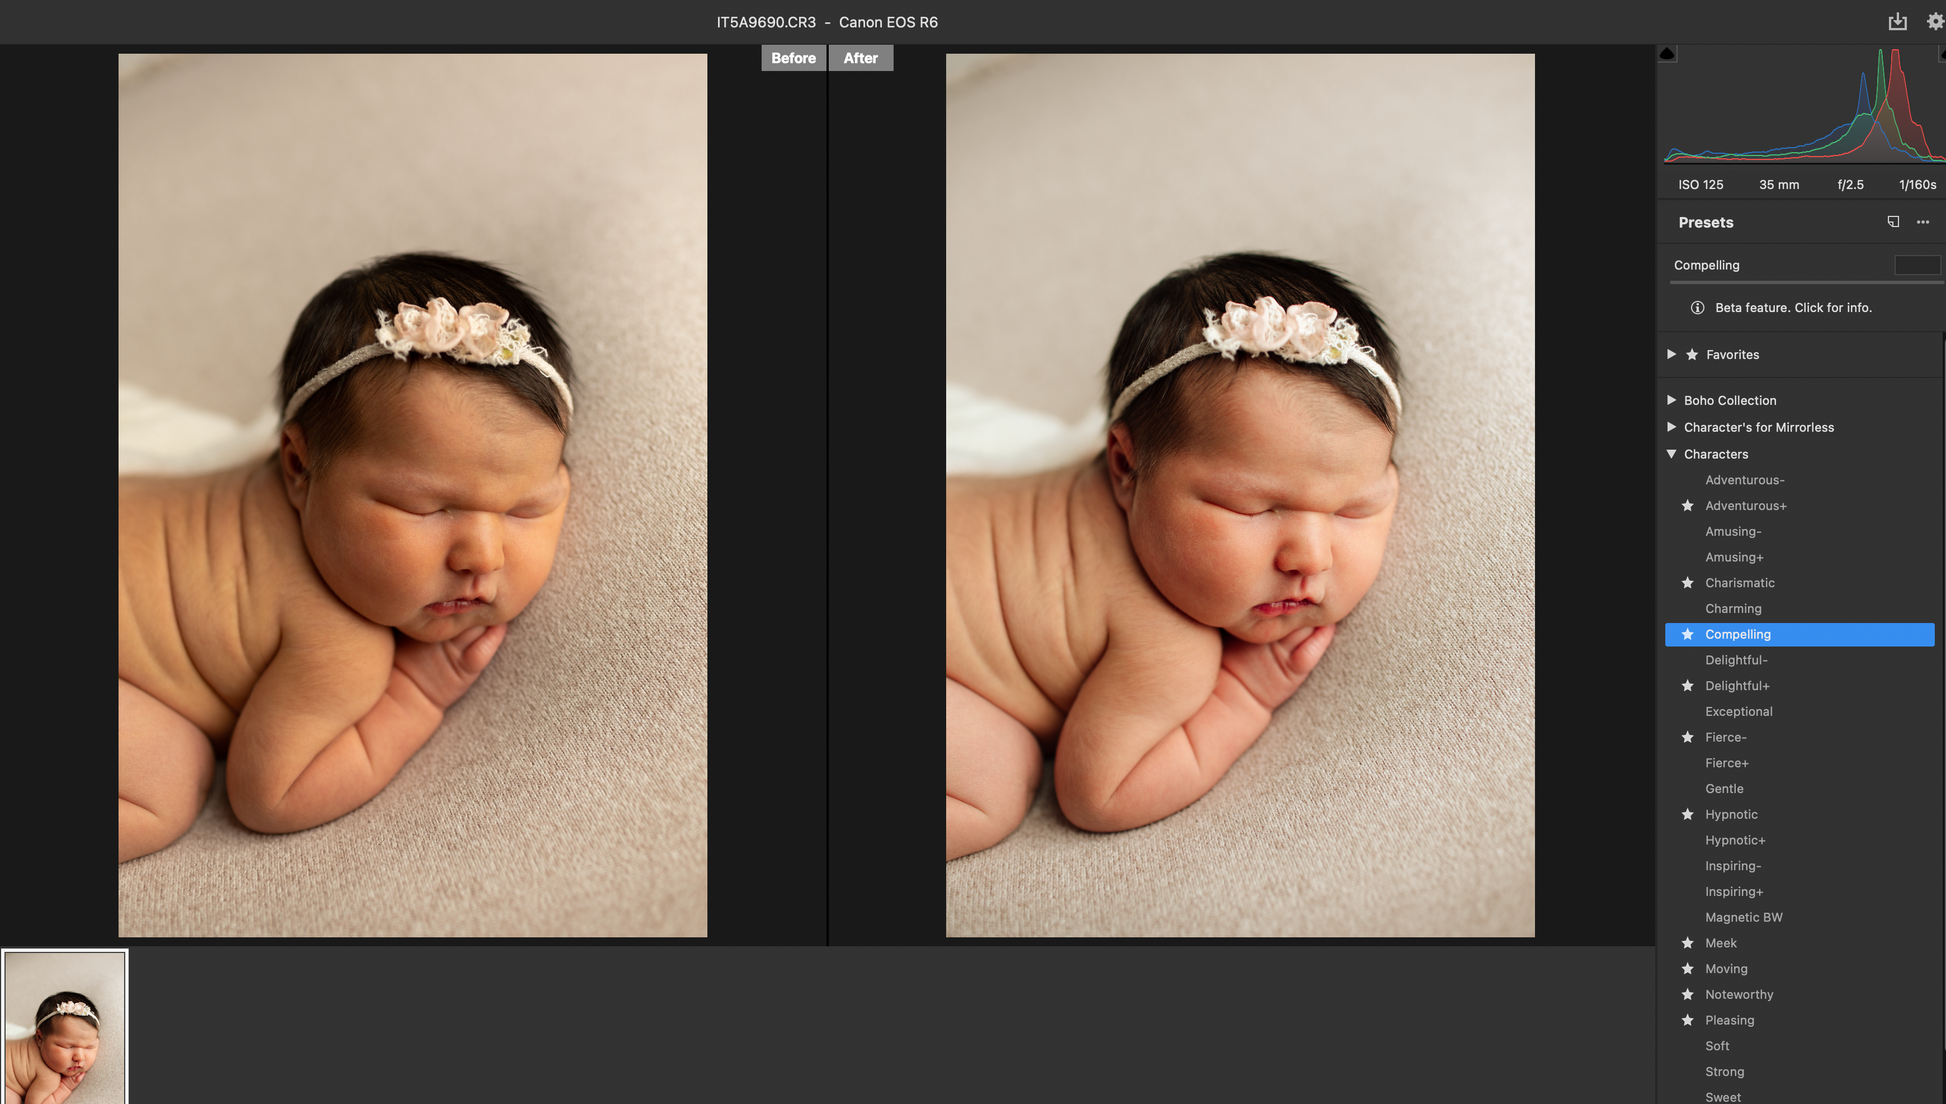
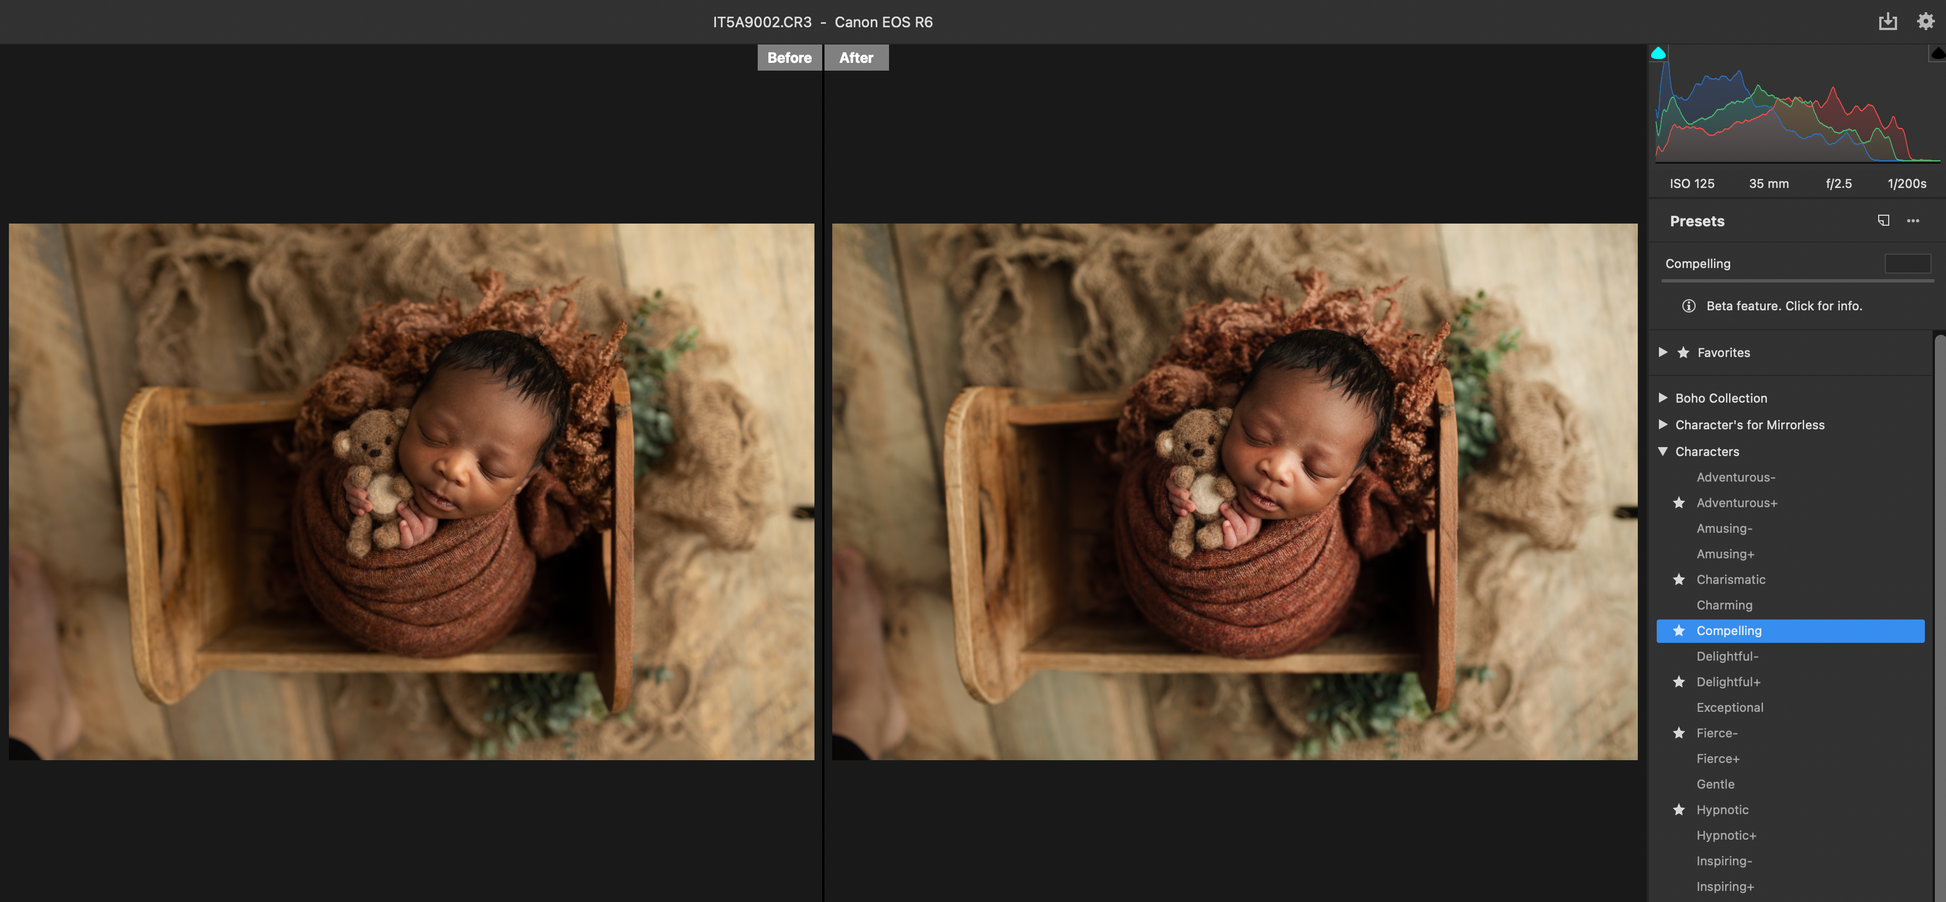
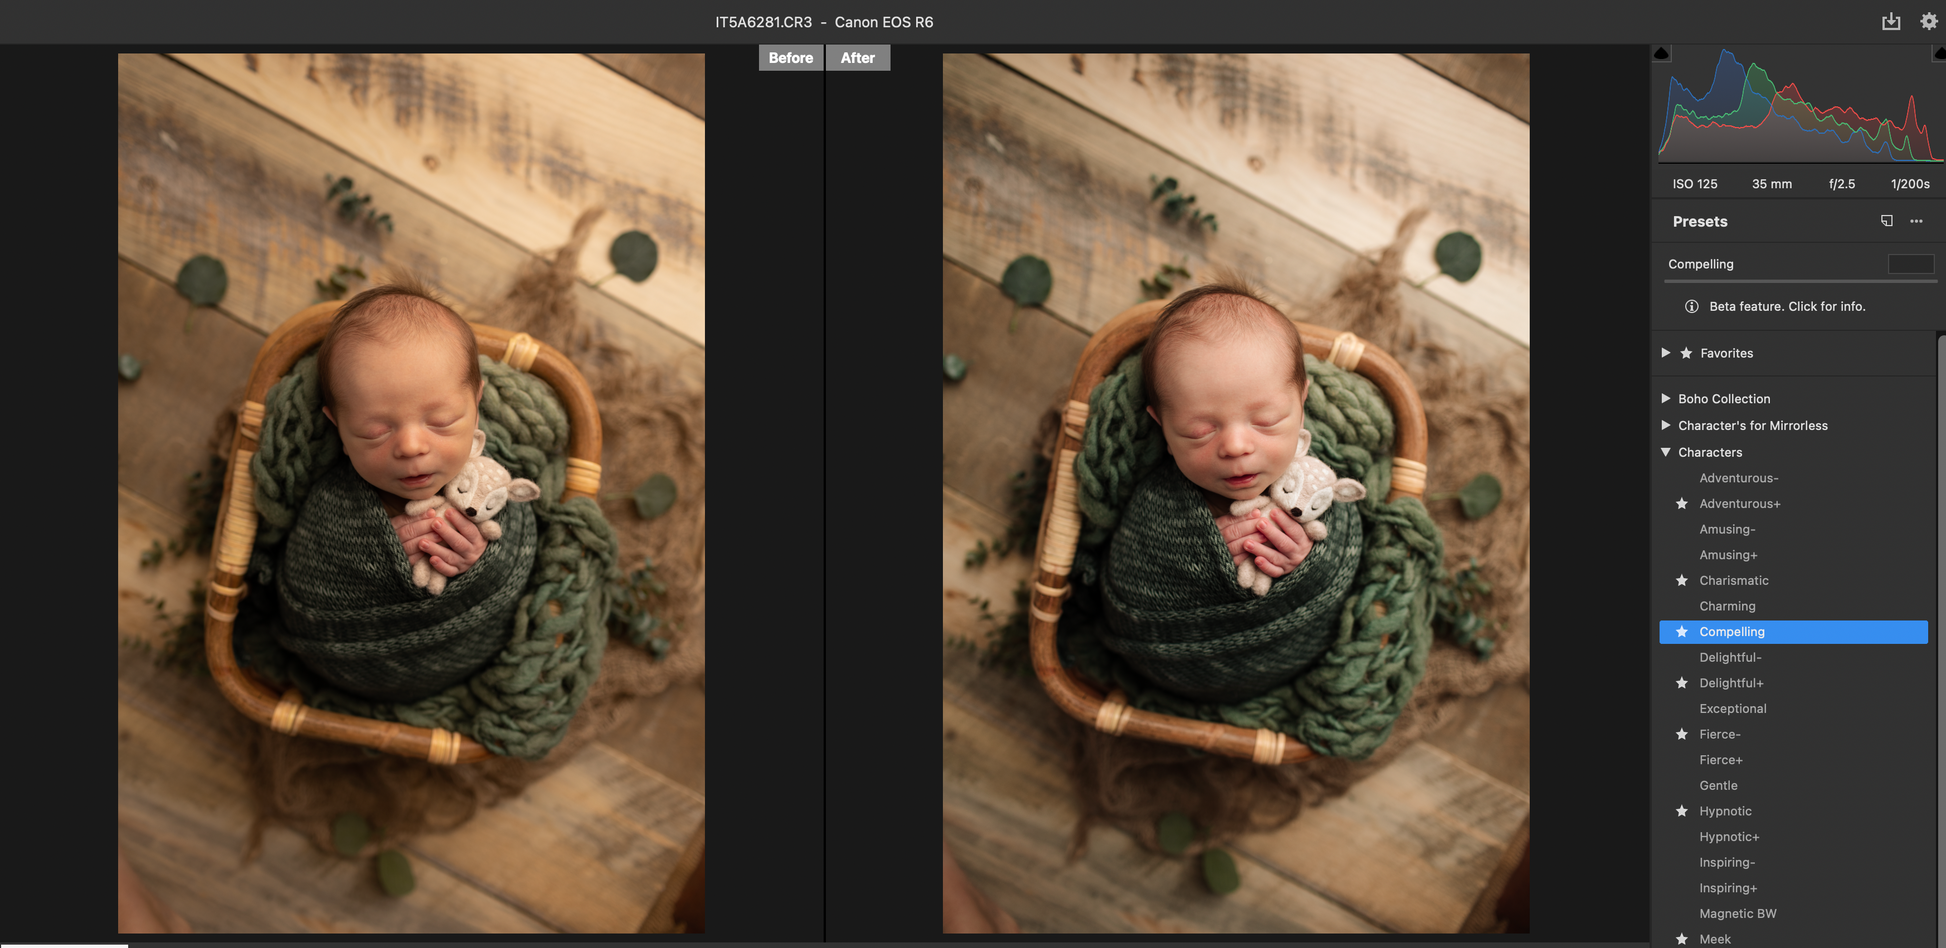
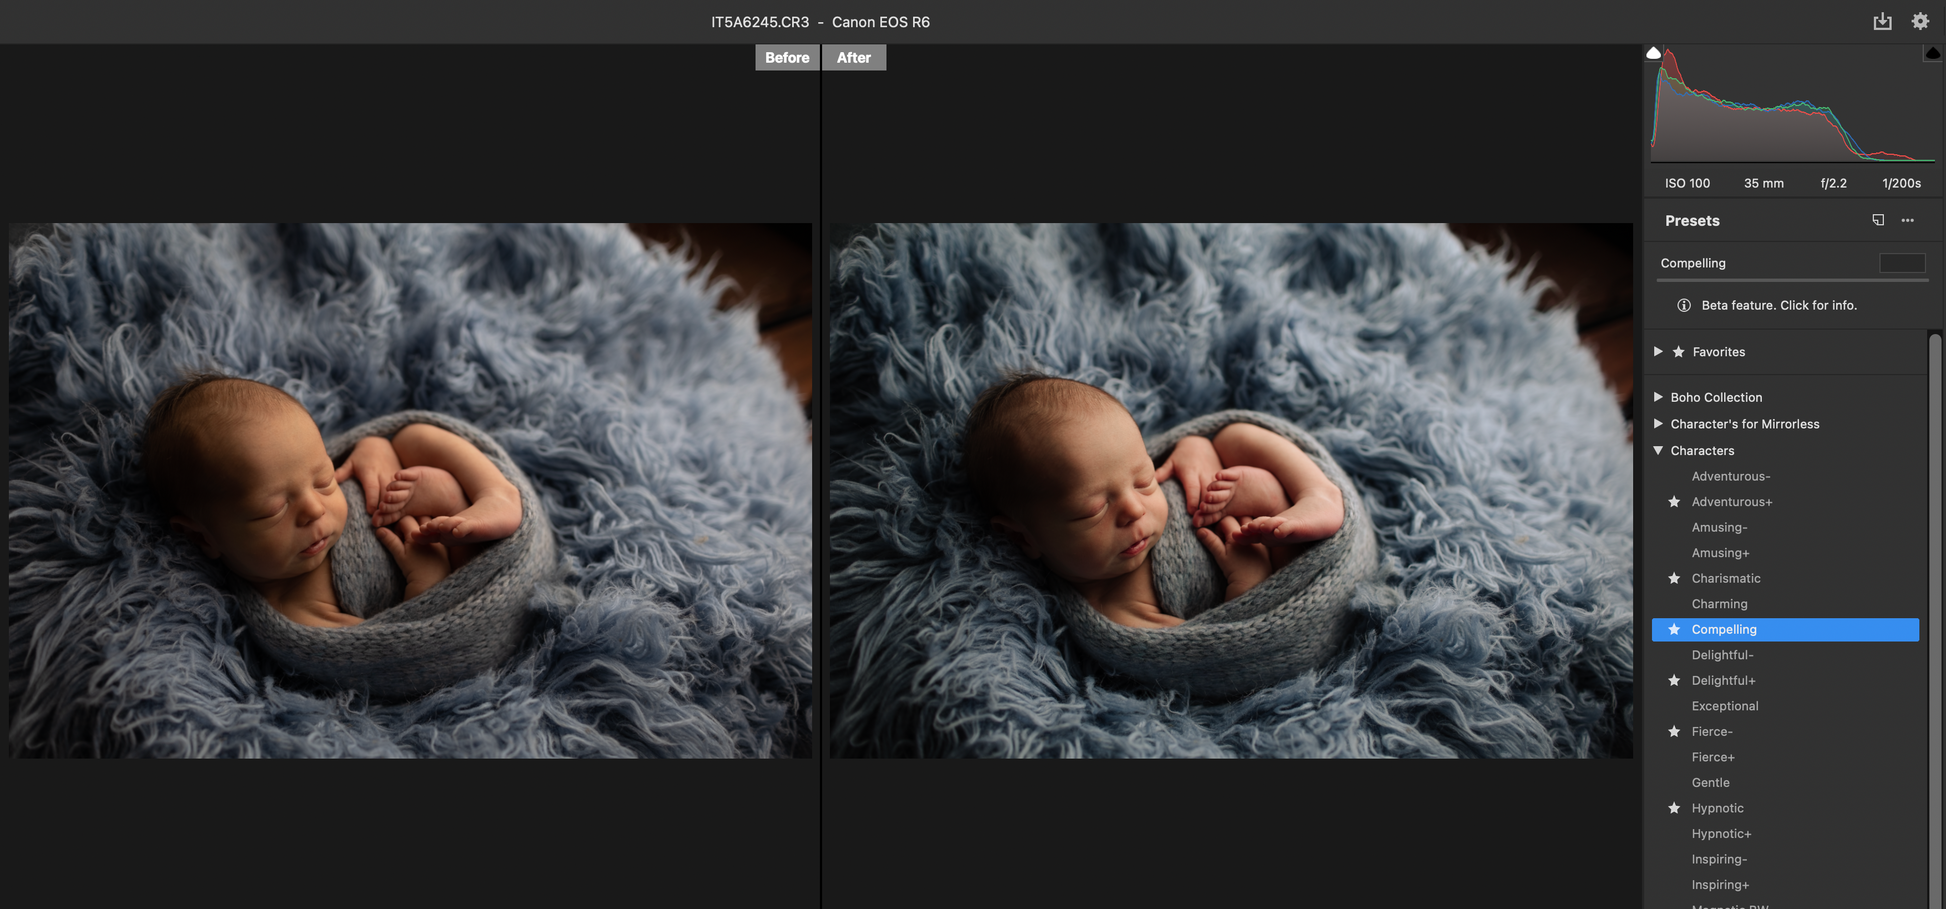
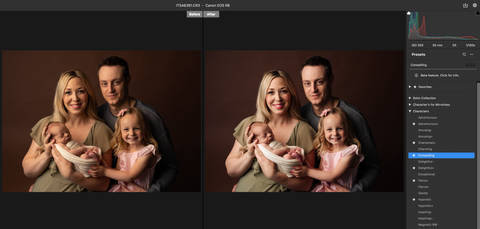
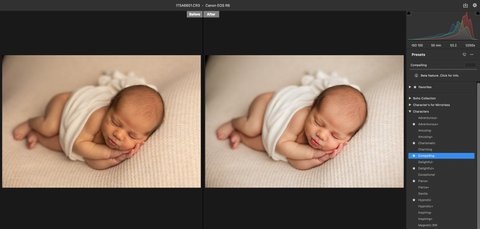
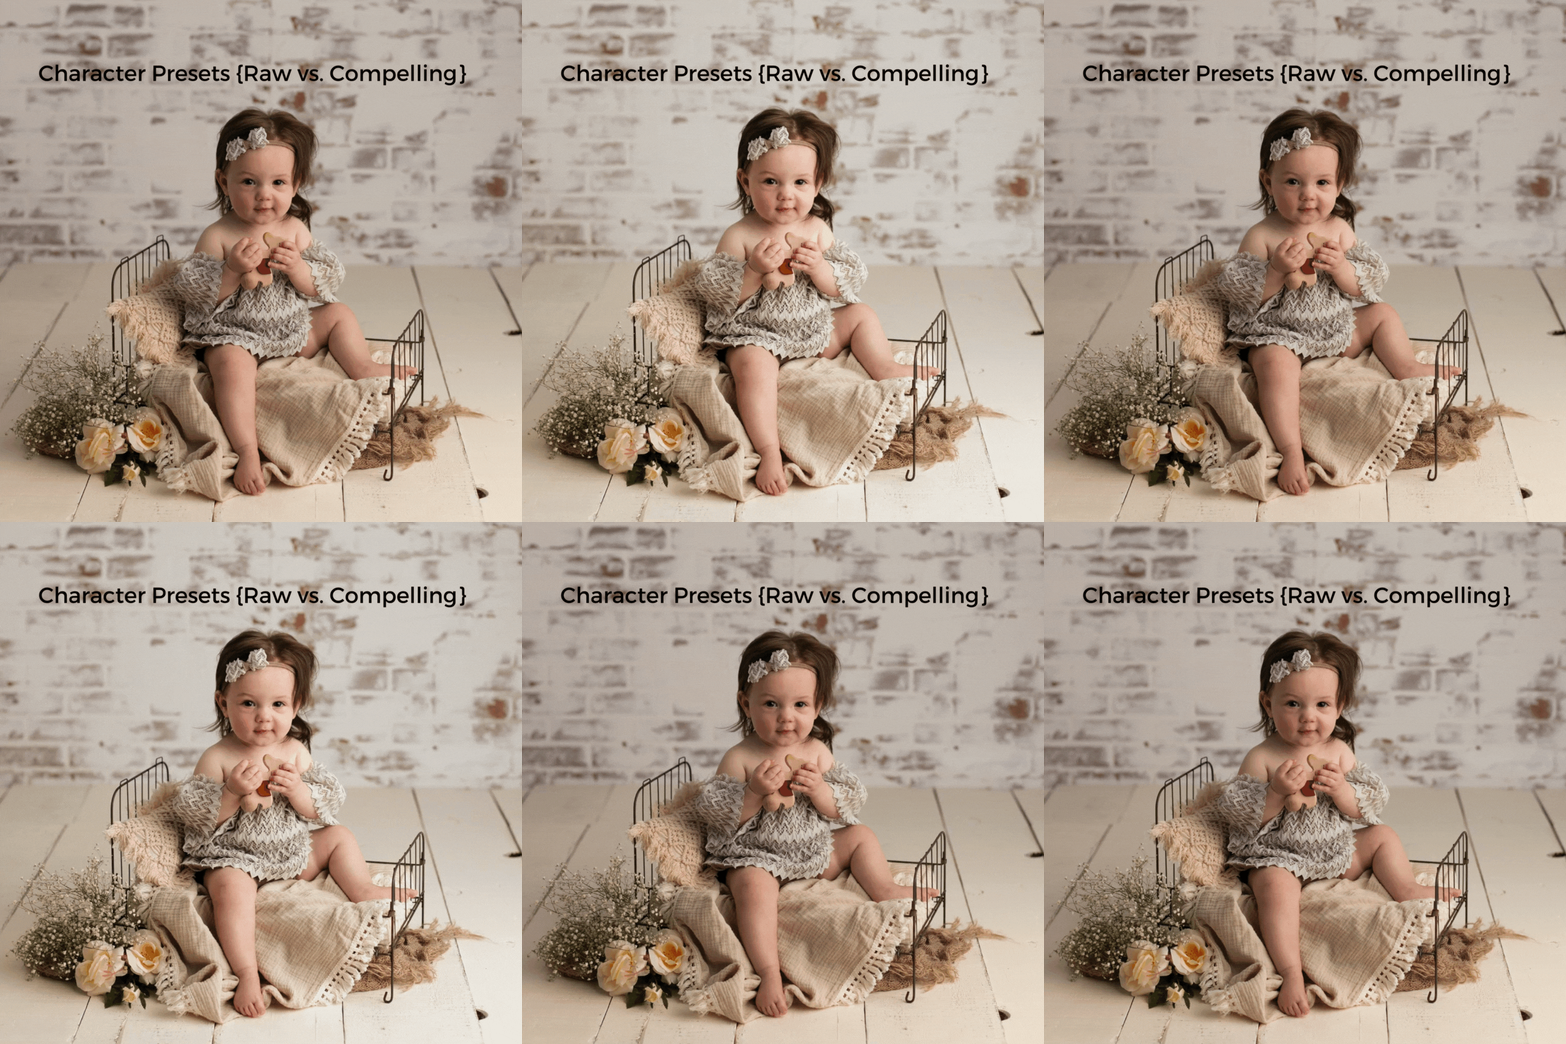
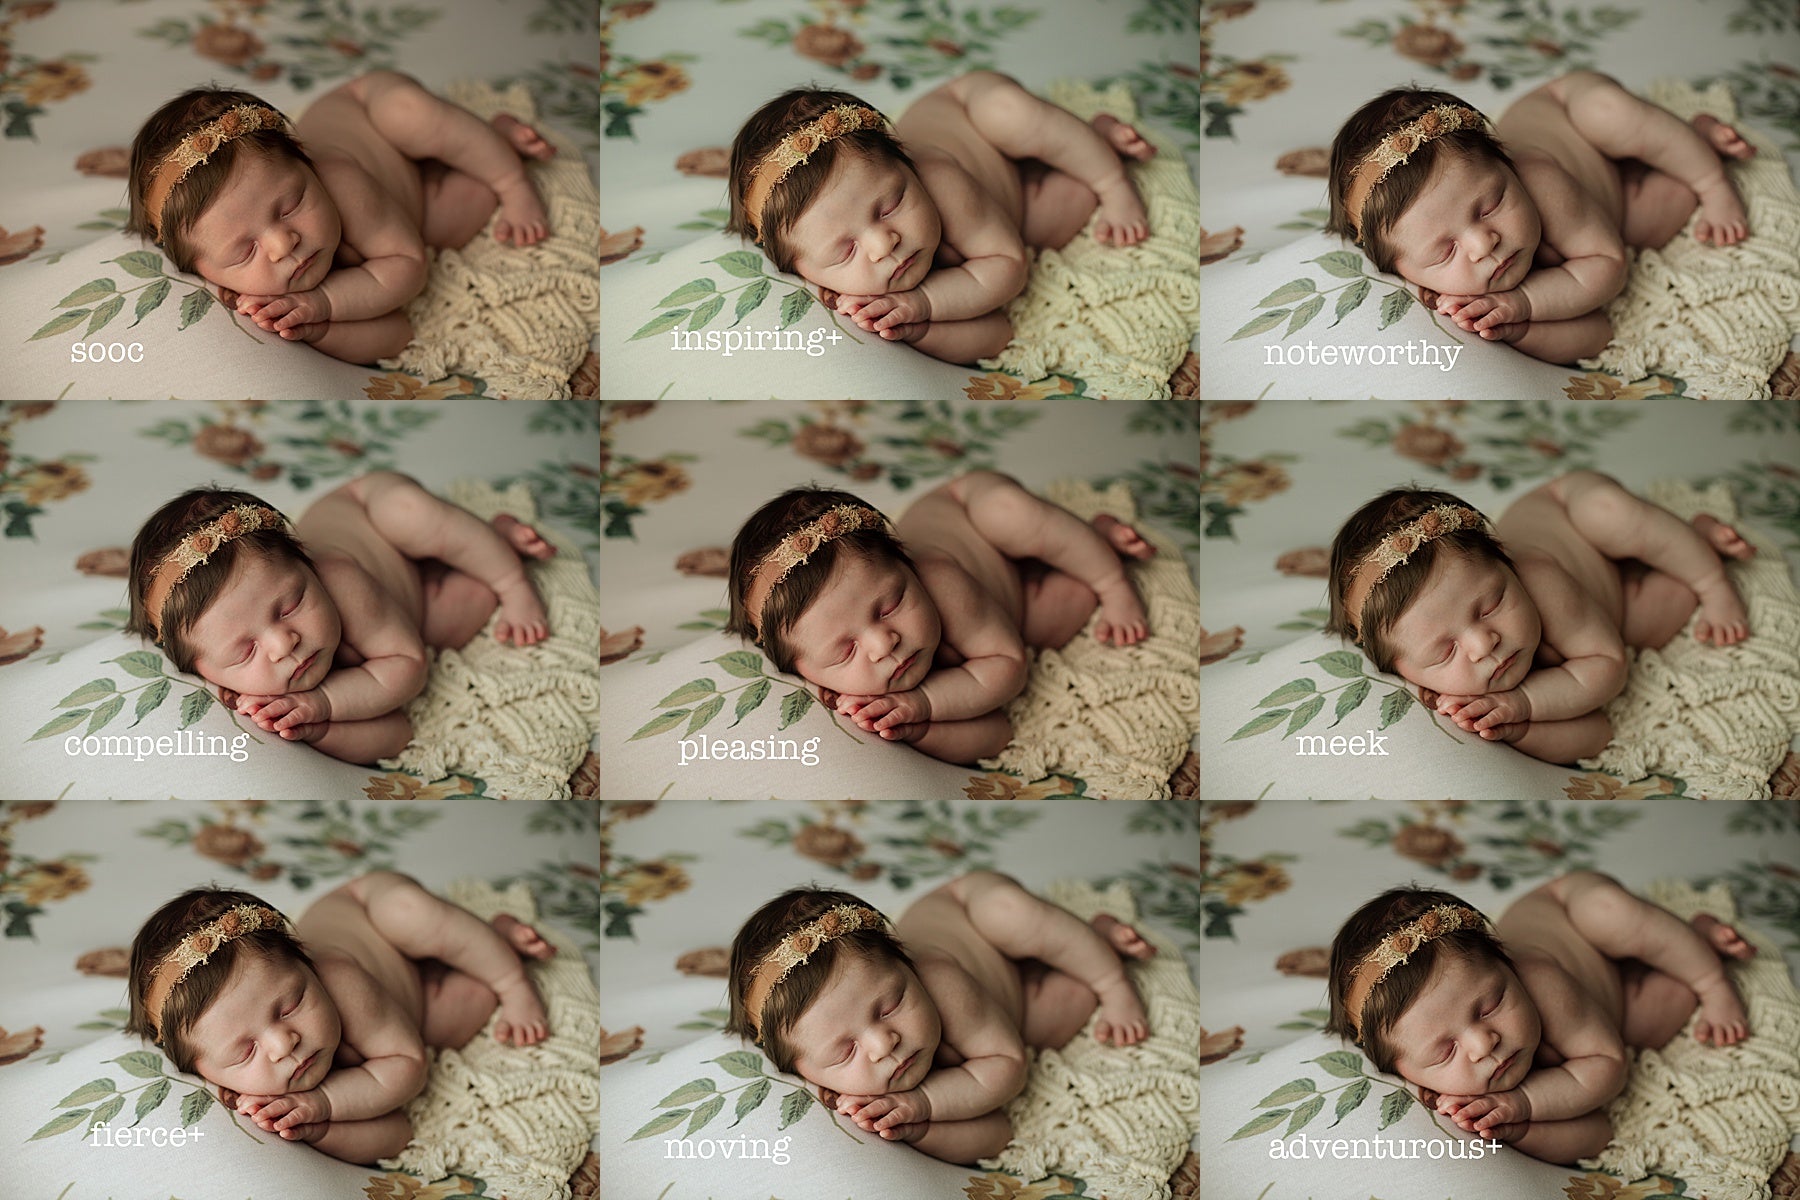
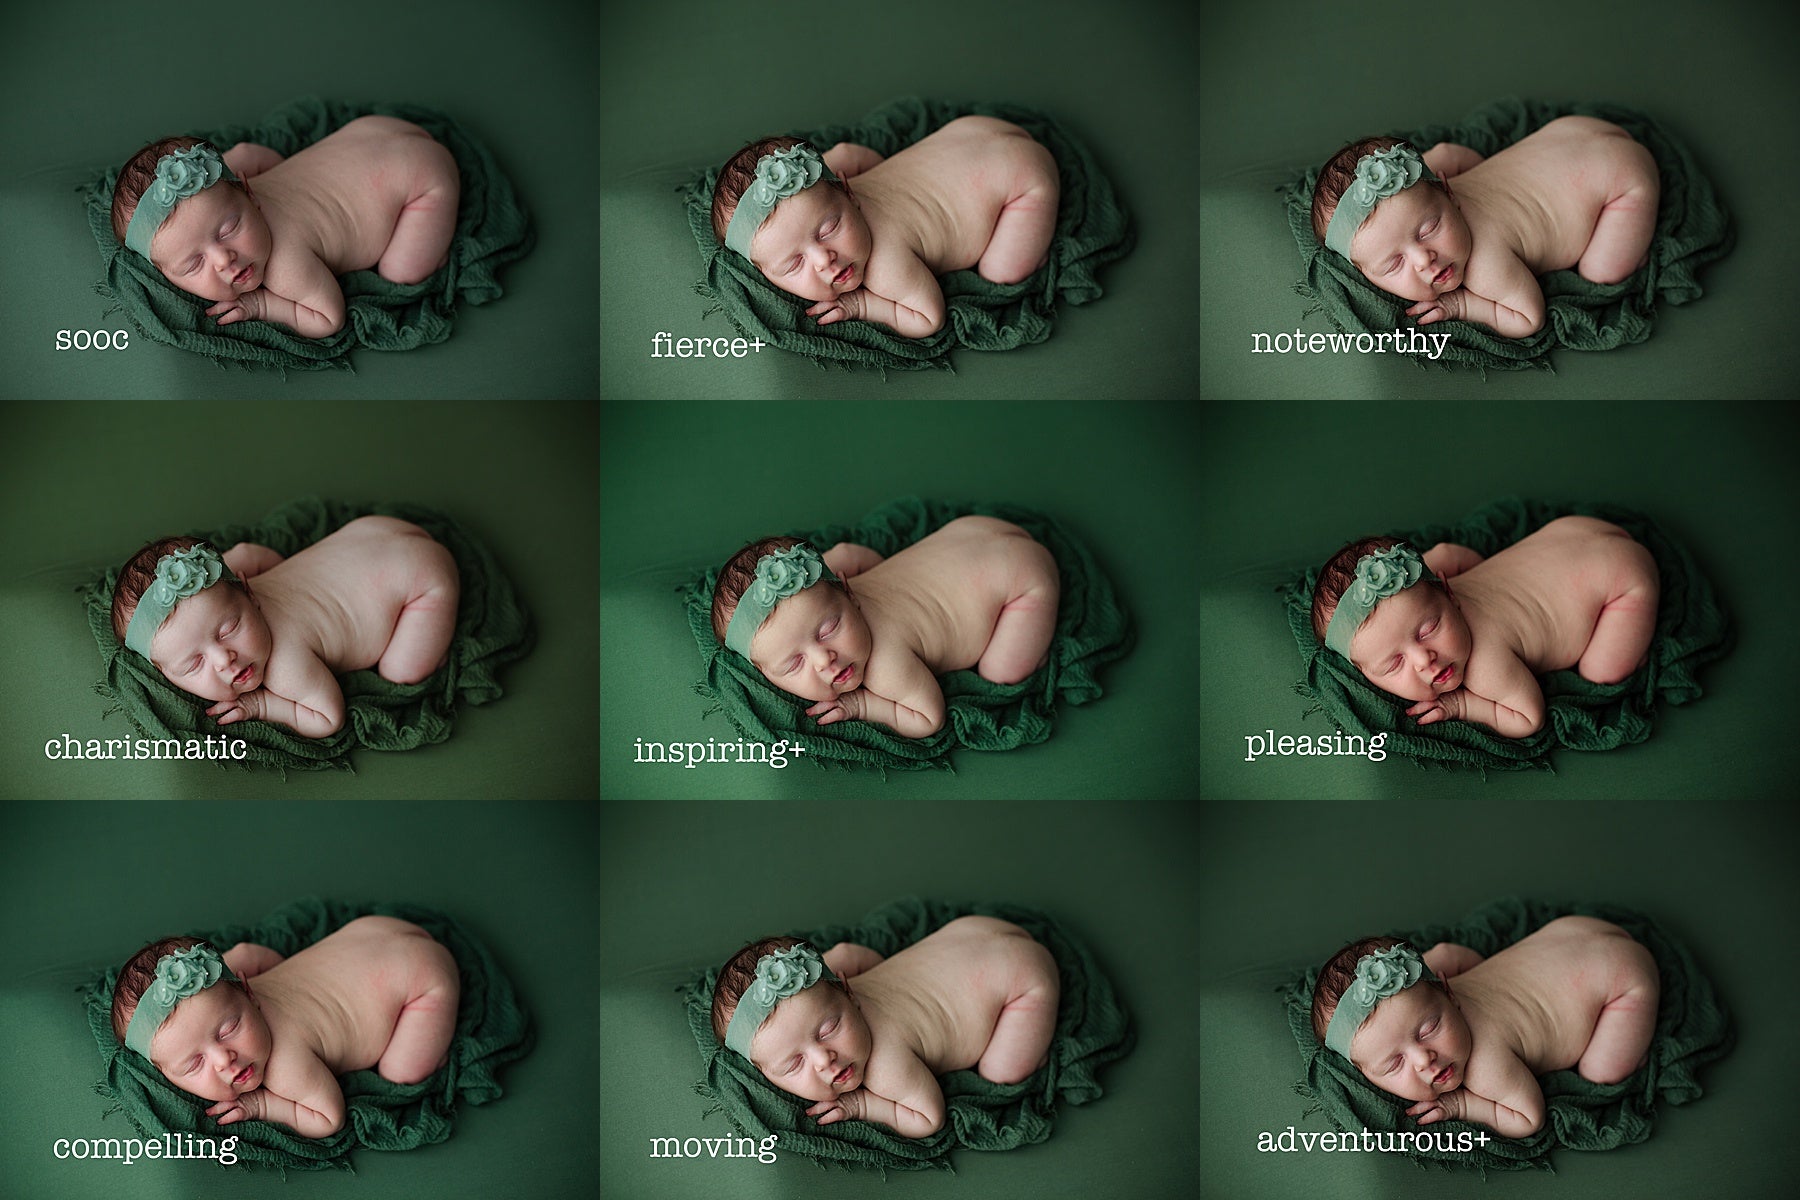
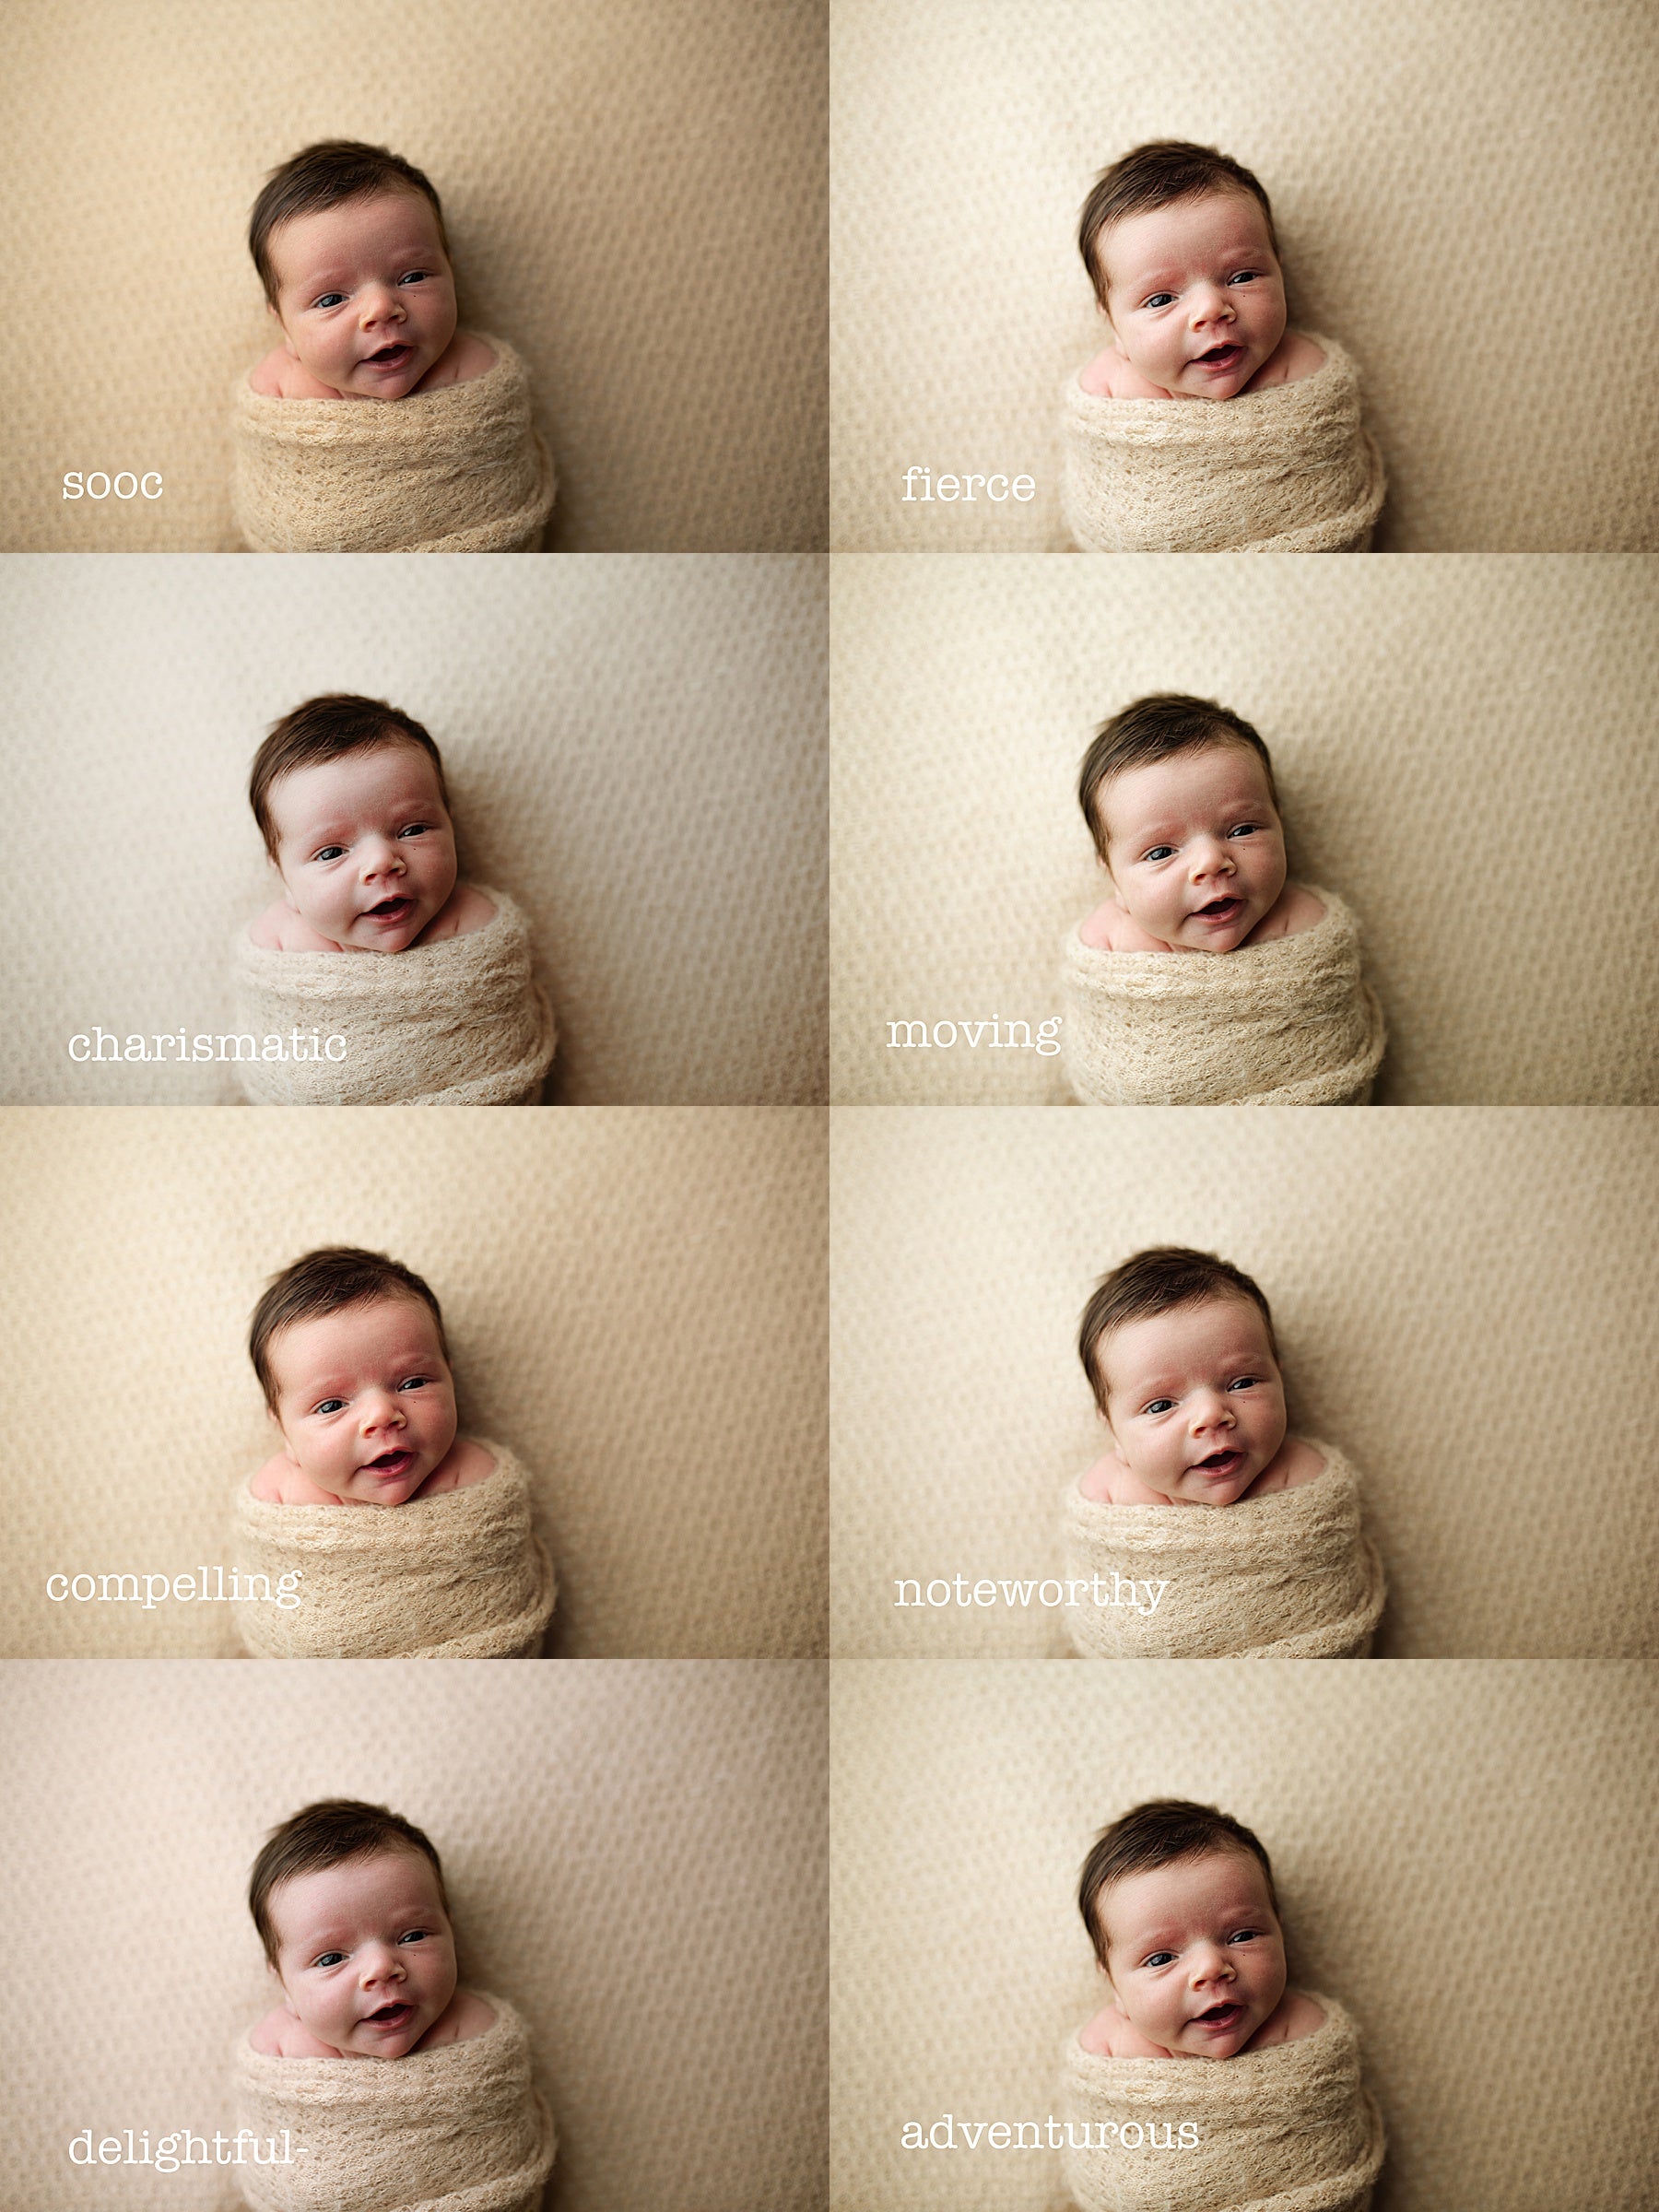
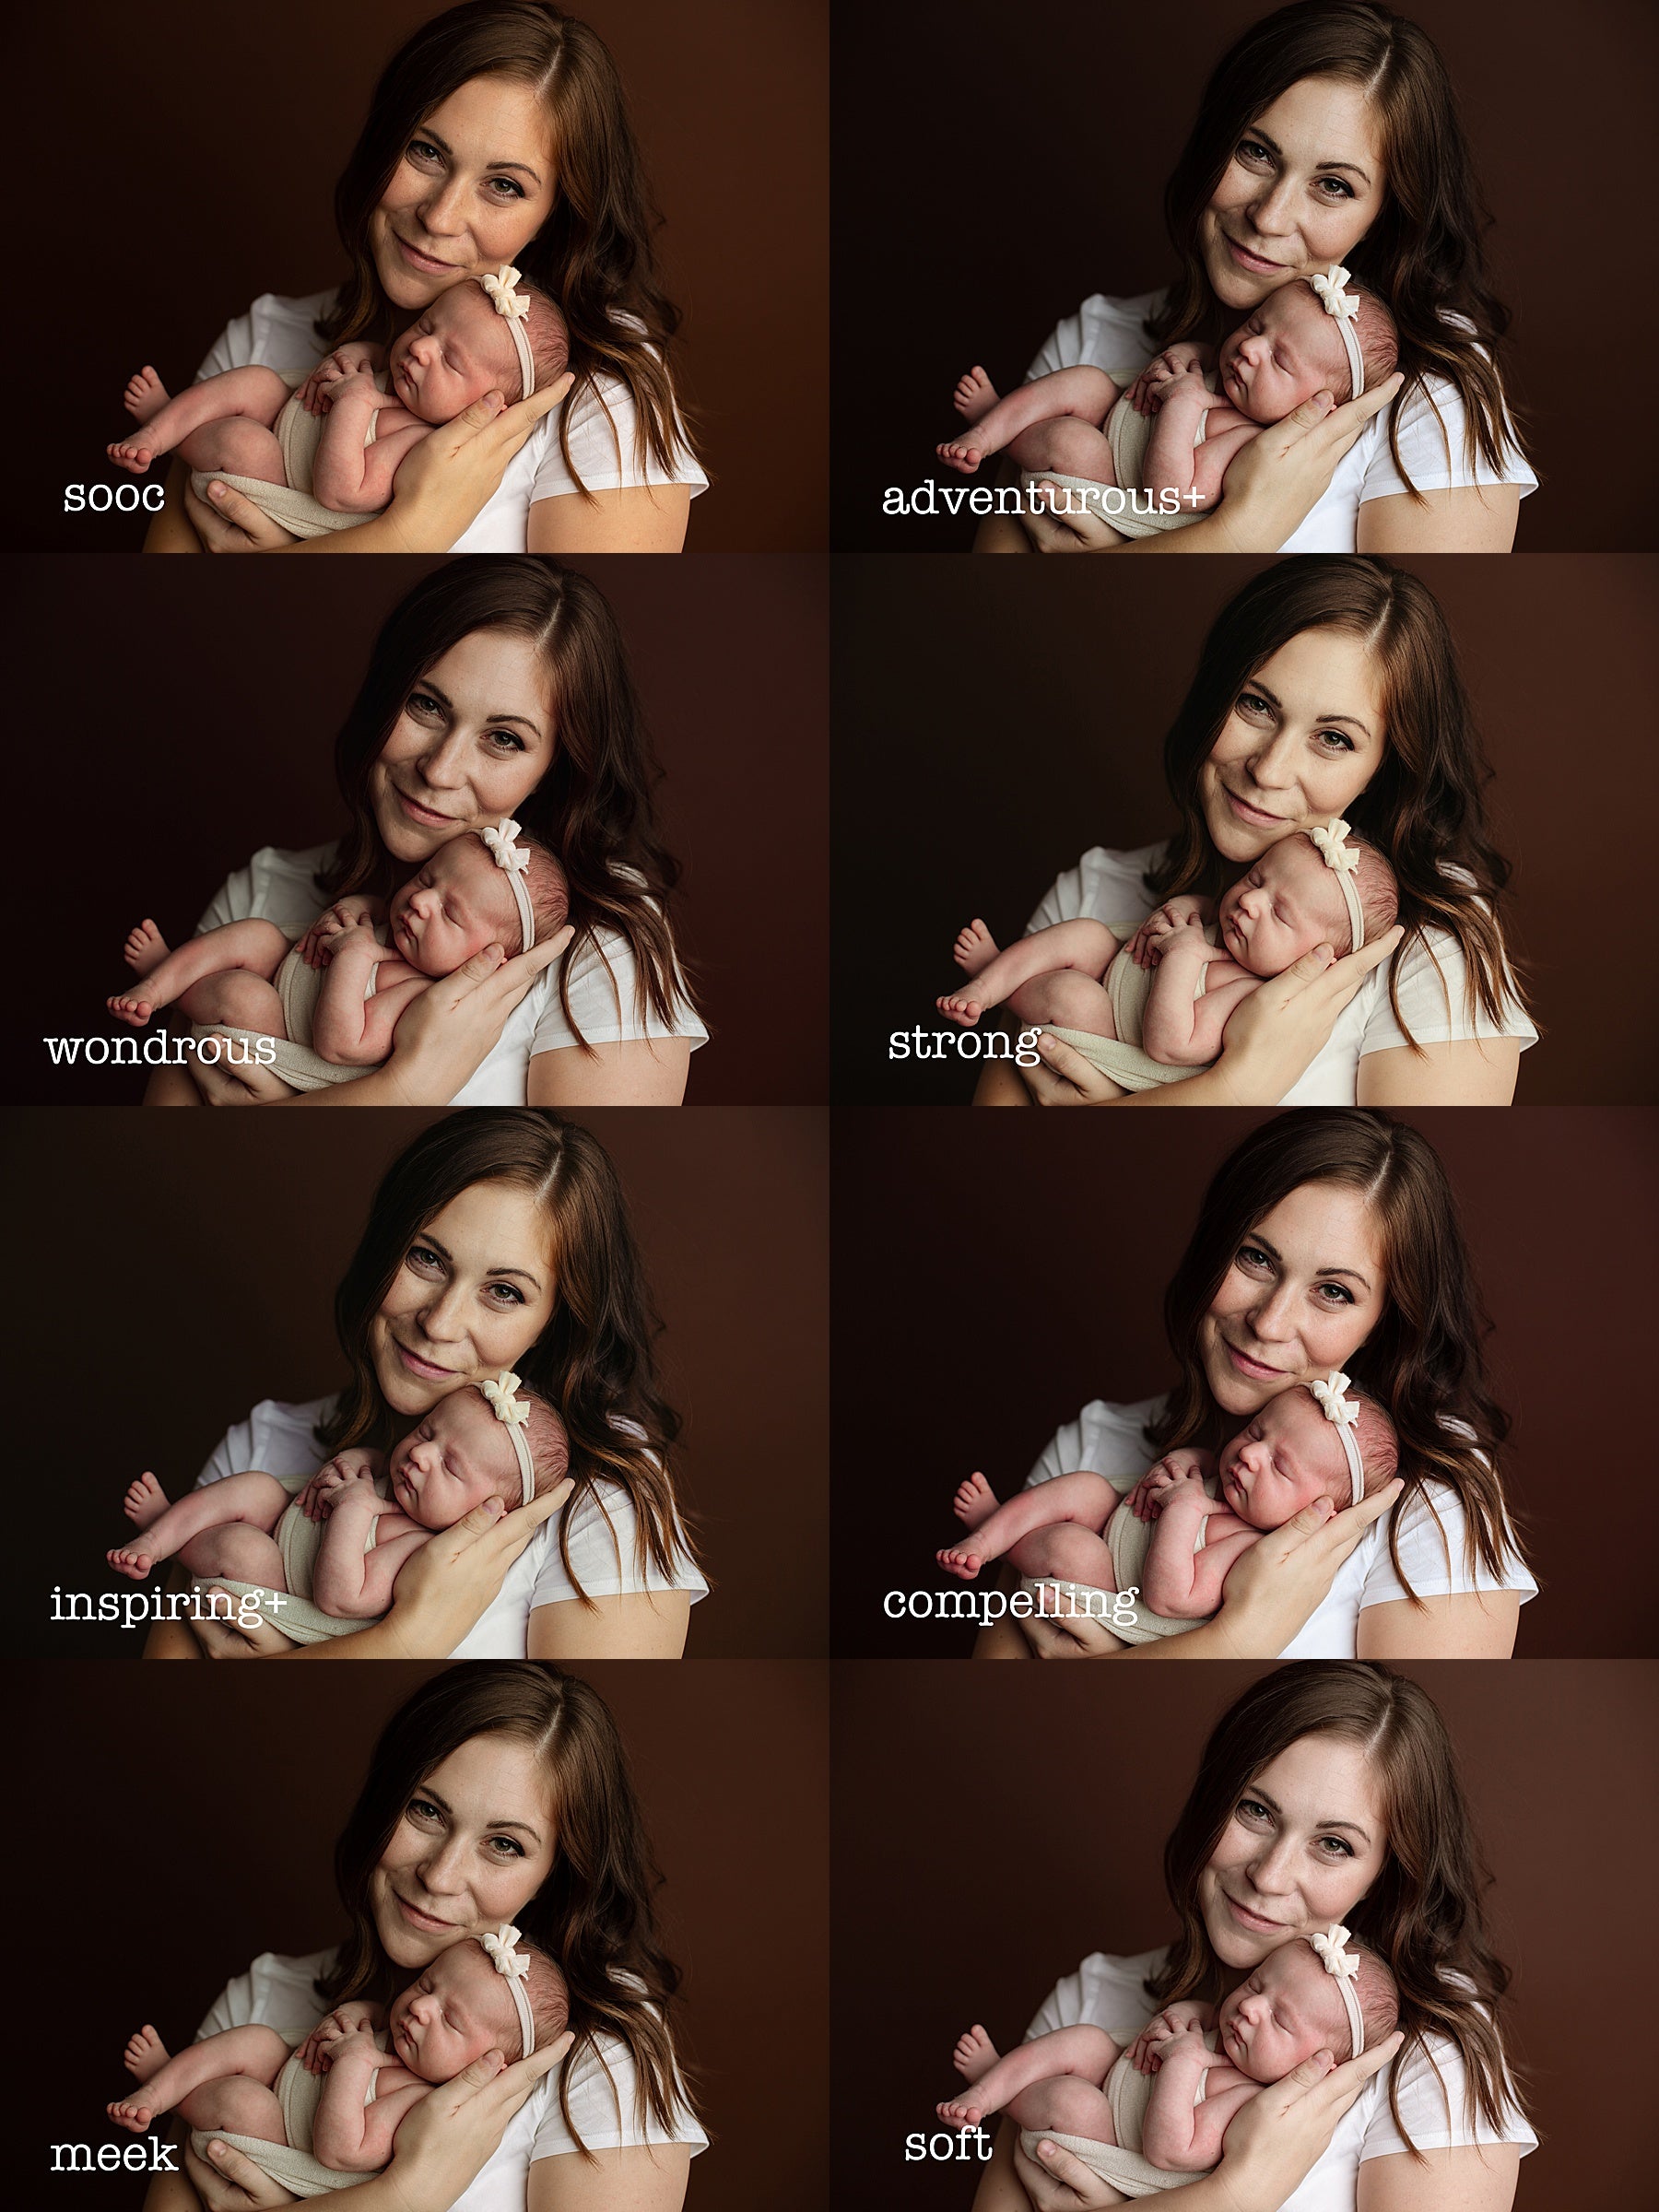
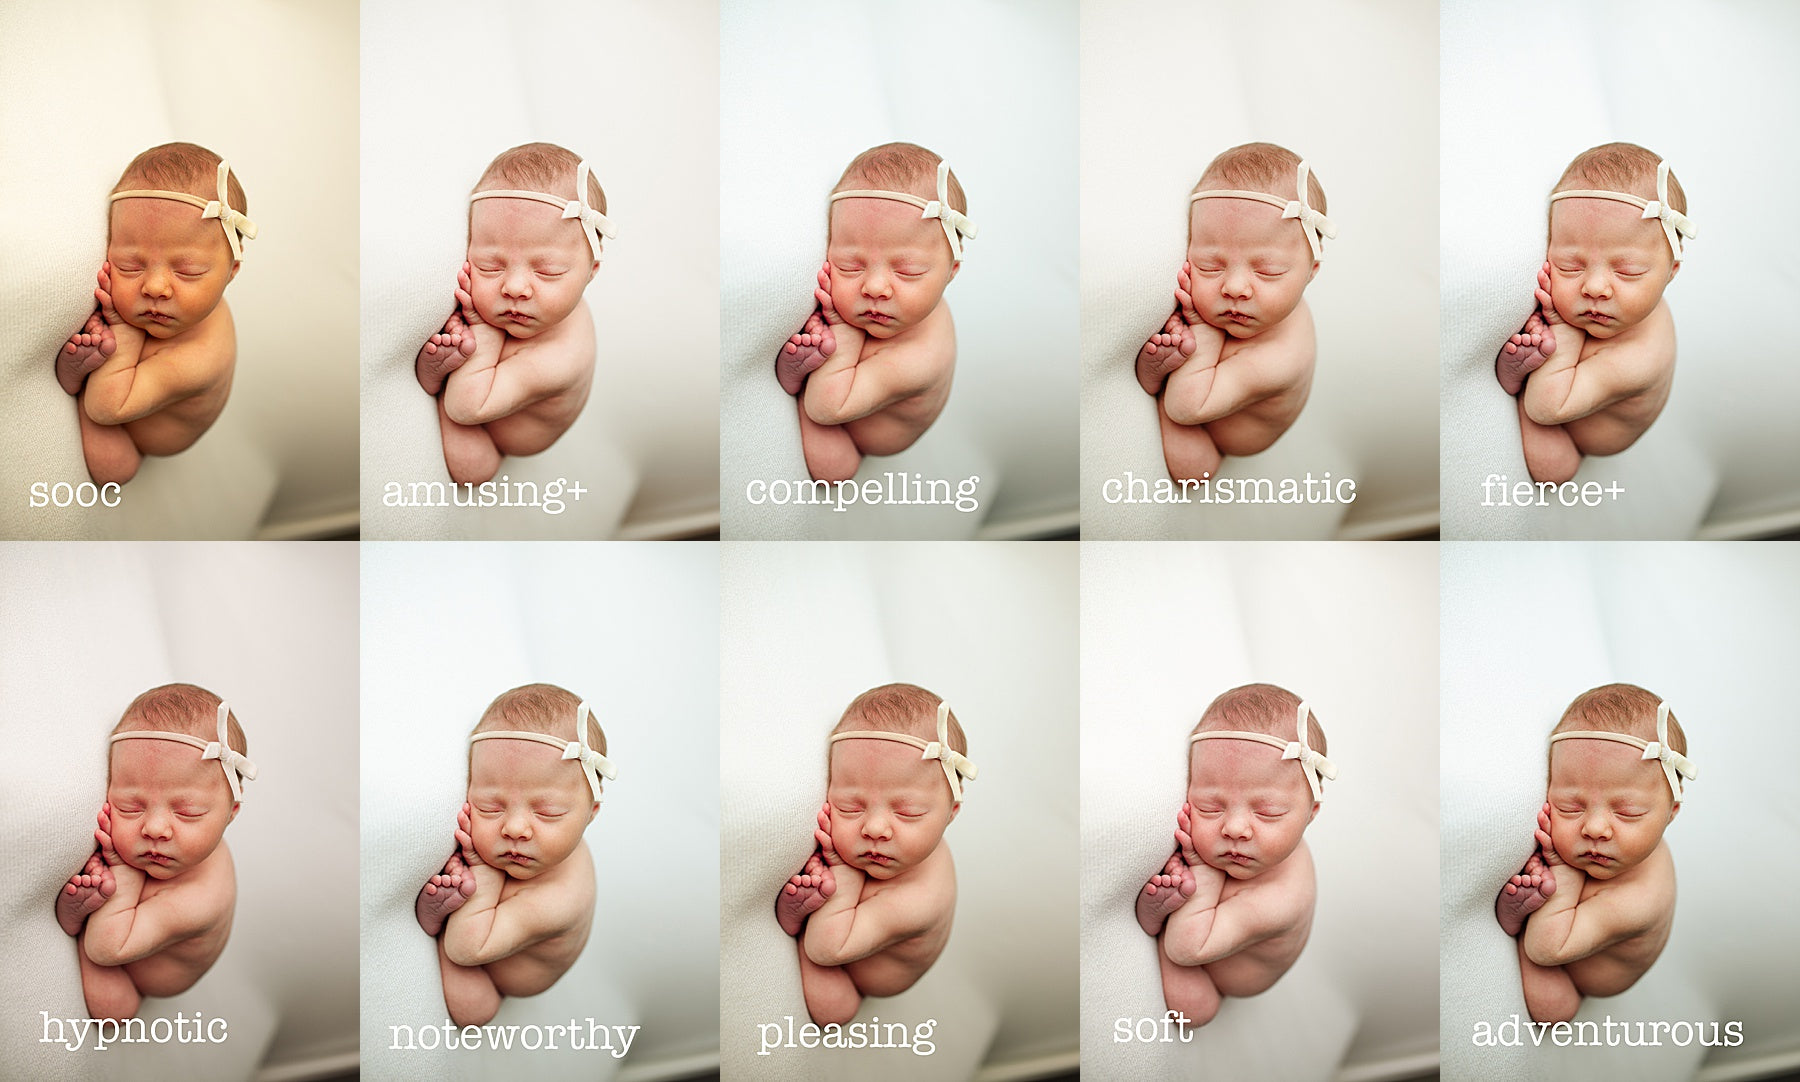
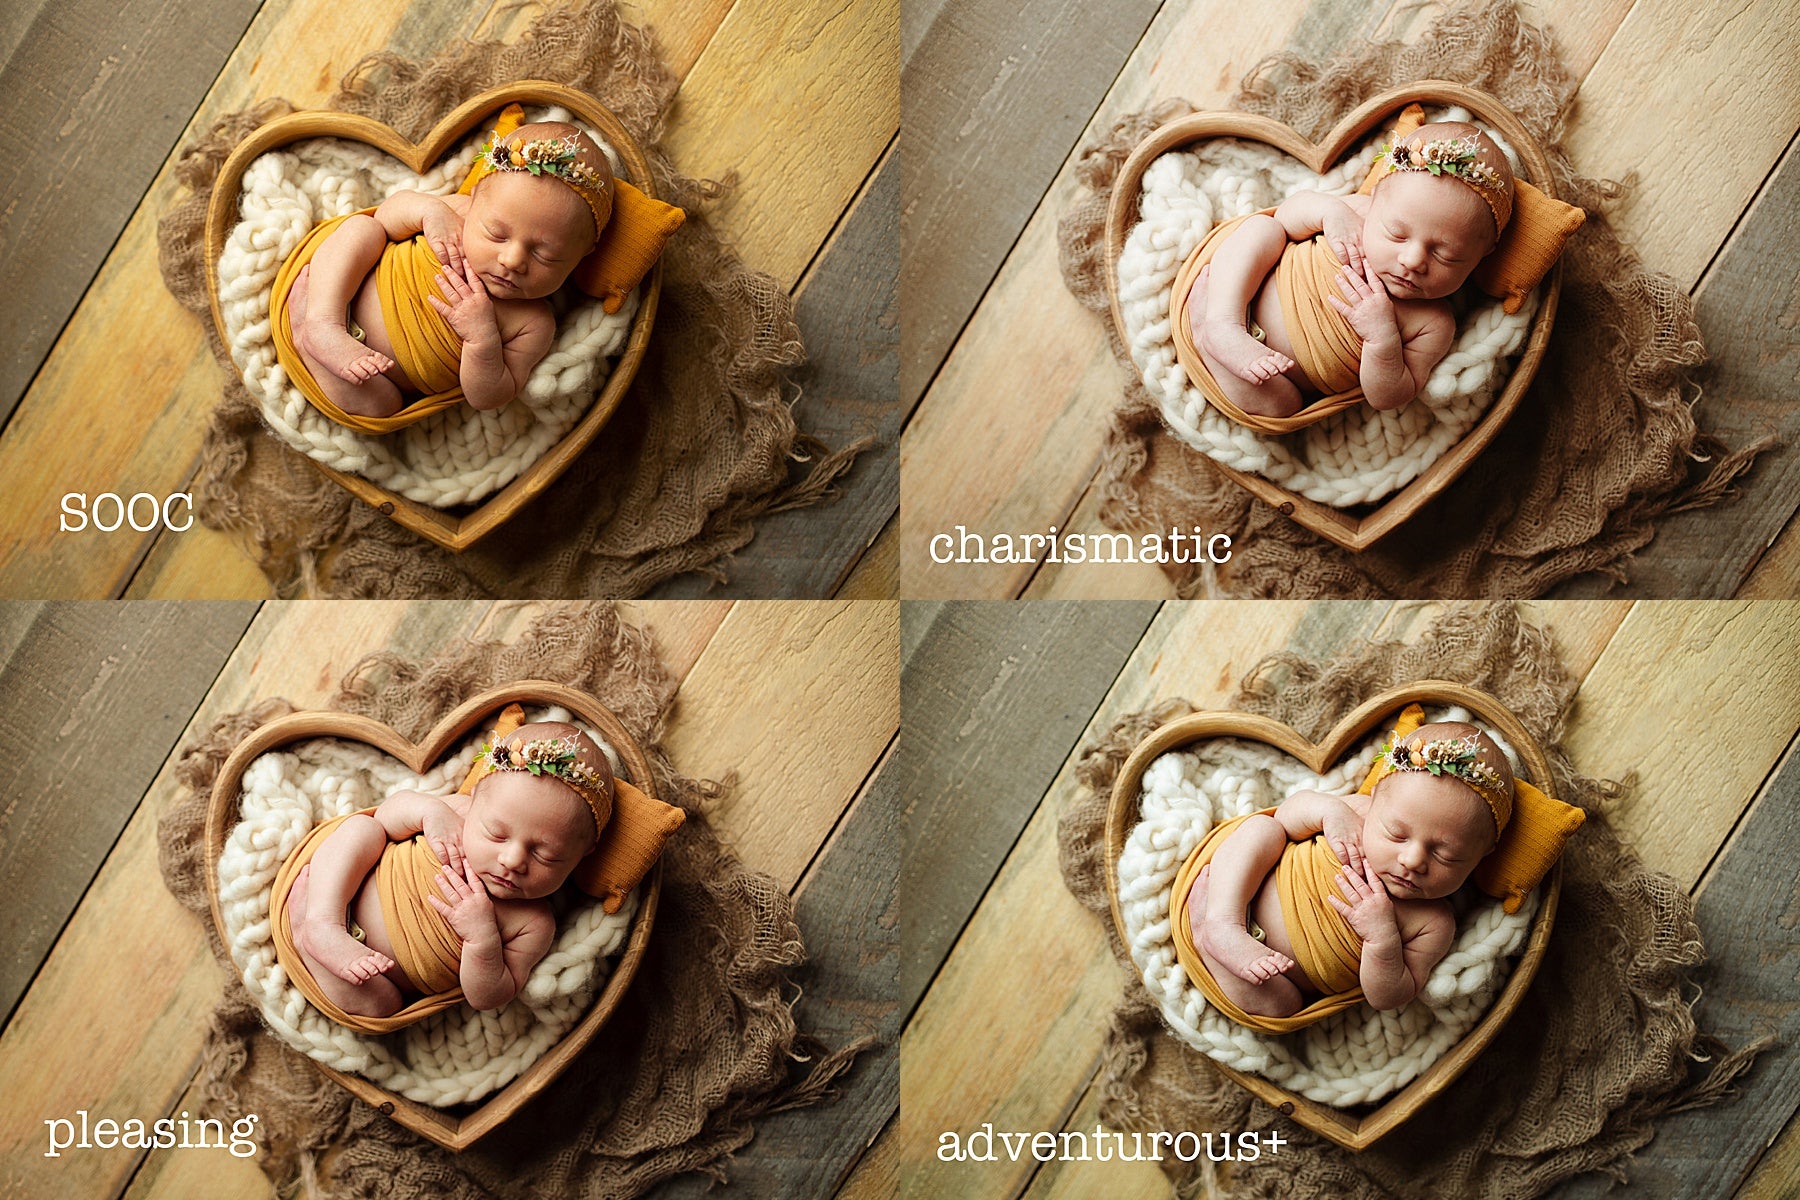
I’ve included several images as examples for you to see the presets applied to “SOOC {straight out of camera}” These examples are using presets with ONE CLICK. Adjustments such as exposure etc still need to be made.
Some of the presets have a + or – beside them. This means there are TWO adjustments made to this preset for you. + stands for Brighter (better for underexposed images)
***If you would like the presets tested out on your images send 3 raw images (not jpeg) via wetransfer.com to momtogeducate@gmail.com
These pair well with the MomTog Skin Actions Vs. 2
When uploading Presets to Lightroom: Click on the “import presets” button. These are .XMP files incase you’re thinking they are something else.
When uploading to Adobe Camera Raw on a MAC: Type this in to your “FINDER” folder at the bottom of your home screen: ~/Library/Application Scripts support/adobe/cameraraw/settings
***THESE ARE NOT PHOTOSHOP ACTIONS***
You must UPDATE your software in order for everything to run correctly!
Digital Products are NON-Refundable!
$85.00
